Producing Pixel-Perfect PDF
Understanding your options for PDF creation using Adobe FrameMaker
It’s no surprise that the best tool for authoring technical content has very precise controls for output to PDF, one of the most popular formats for technical content delivery. In fact, FrameMaker gives you access to two separate PDF creation workflows. Both workflows support online or print-oriented delivery, and easily manage structured or unstructured content. And both workflows are fully customizable, allowing you to easily produce PDF output on the fly.
Viewing the original webinar version of this material
I delivered a 1-hour webinar on this topic in July, 2021. If you’d like to watch the full presentation, you can register for the recording at
https://elevate-your-documentation-with-fast-pdf-publishing.meetus.adobeevents.com/
To print or publish, that is the question
The first item to address is the method (and the engine) used to create your PDF file. You have two options:
- Use the older PDF Distiller workflow by selecting File>Print, and print to the Adobe PDF print driver
- Use the Publish panel (or use File>Save as PDF) to use the newest PDF engine, introduced with FrameMaker 2019
Creating PDF using Print and the Acrobat Distiller
I’ve started with this option first, because its merits are fewer and easier to explain. Basically, printing to the Adobe PDF driver is an older option that may already give you everything you need in your PDF files, and which is already embedded in your systems and workflow. If so, great, because you continue to have access to that option in all versions of FrameMaker, as well as the ability to customize your .joboptions as discussed later.
There are a few things to be aware of when using the Distiller:
- The older Distiller engine is significantly slower than the engine used by the Publish panel
- Some options (for example, features related to Accessibility tags and other Section 508 compliance features) may not work as well when producing PDF with Distiller
Creating PDF using the FrameMaker Publish panel
Starting with the 2019 release of FrameMaker, the focus on PDF production is on the Publish panel. Overall, I recommend using the Publish panel to produce PDF. Here is a video explaining many of the differences. Note the content at about 1:50 in the video that describes setting up Accessibility tags for both Distiller and Publish panel methods.
Overall, using the Publish panel to produce PDF gives you more control, increased speed, and additional features.
Advantages using the Publish panel to produce PDF
Here are a number reasons I recommend the Publish panel for PDF output:
- Better progress indicators during processing
- Easier to cancel processing and regain control of application
- Settings are stored in the STS file and can be customized per project, as well as being shared with others, along with settings for producing other formats like
- Responsive HTML5
- EPUB
- Kindle
- Mobile App
- MS HTML Help (CHM)
- At least 60% faster PDF processing
- New options available for Accessibility tags and Section 508 compliance
- DITA-specific options related to template files and other details
Perhaps the most significant reason to use the Publish panel is speed of processing. While Adobe prefers to quote 60% faster processing, my experience is much better than that. What previously took hours to publish, now takes 5 minutes or less.
Adding custom job options
Both methods outlined above rely upon a PDF .joboptions file for specific features and settings. Base settings exist in default FrameMaker installations, but additional .joboptions are available in the following directory:
C:\Users\[USERNAME]\AppData\Roaming\Adobe\FrameMaker\16\Additional_PDF_Settings
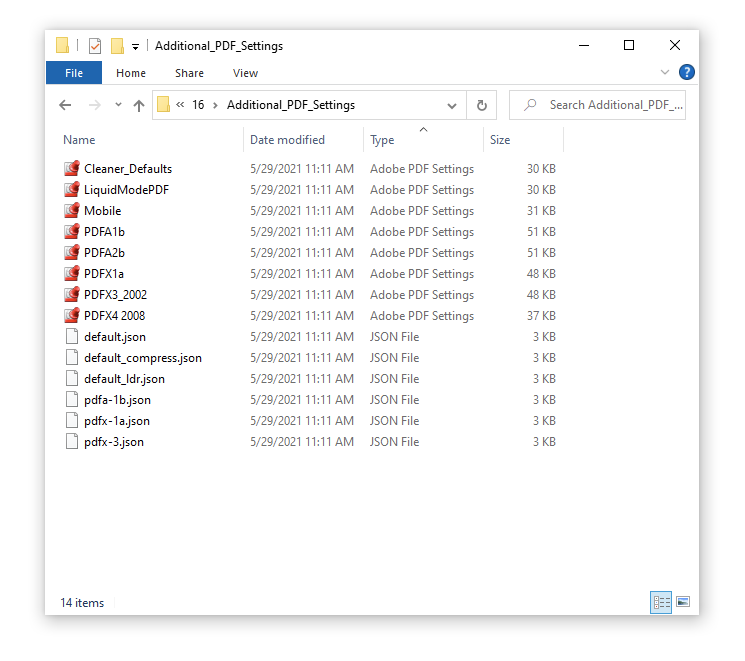
There are a number of settings available here. The PDF/A are for online and archival, and the PDF/X are for commercial printing.
Tip: Use the %appdata% shortcut in your Windows File Explorer to quickly navigate to the Roaming directory
Stefan Gentz, Adobe TCS Evangelist

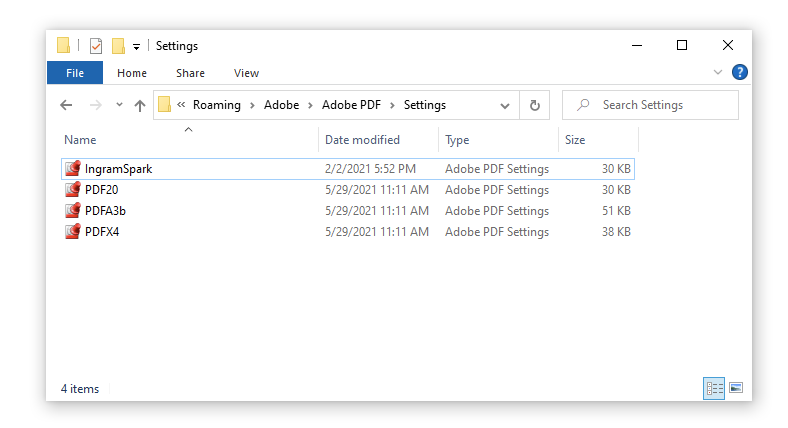
To use any of these or any other extra .joboptions settings you might have, move the .joboptions file to the appropriate directory, shown below:
C:\Users\[USERNAME]\AppData\Roaming\Adobe\Adobe PDF
Here is a video showing how to move these files around, as well as explaining more about PDF/A, PDF/X, and PDF UA accessibility standards:
Publish panel options
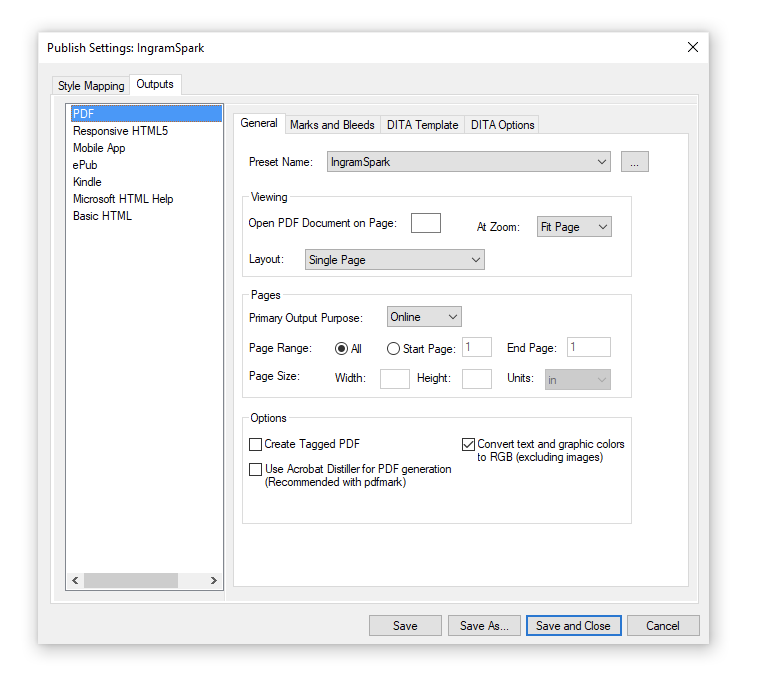
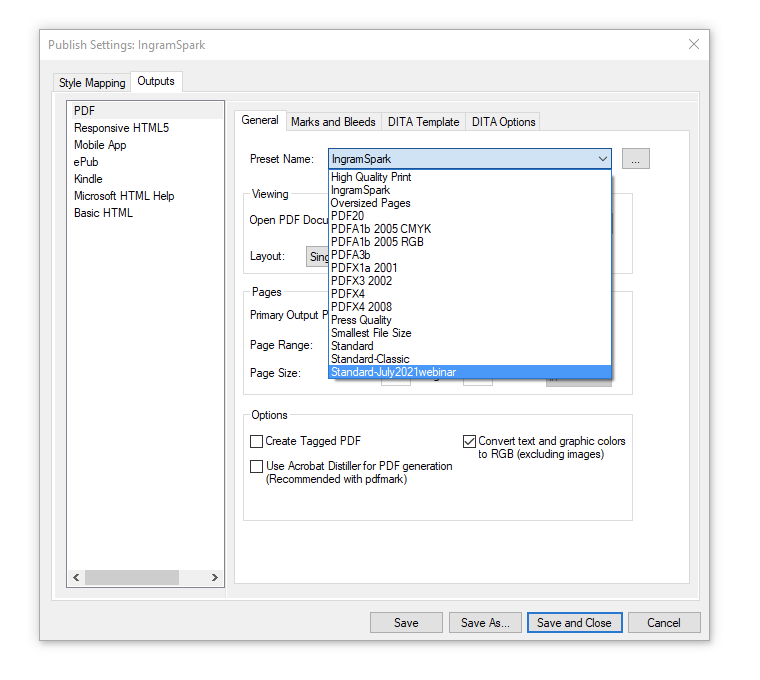
Use the Edit option as shown below to specify settings for general PDF options, and for Marks and Bleeds, DITA Templates, and miscellaneous DITA options.
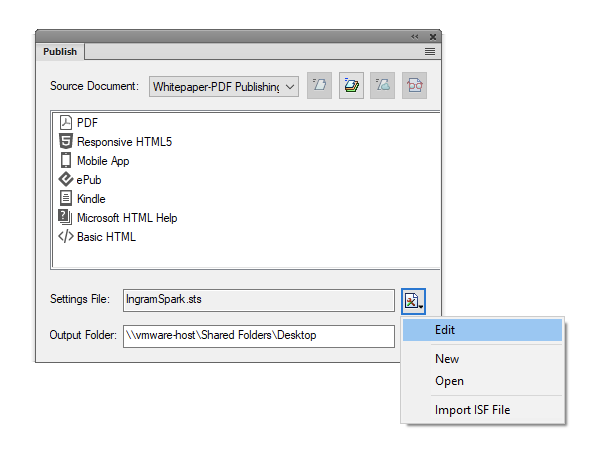
Because these settings reside in the same location as the other output options (like HTML5 and EPUB), they are both easier to access, and easier to move from machine to machine.
In the image above, you can see the label of my preset is IngramSpark. This setting contains specific options to pass the online validation tool for my FrameMaker reference books and structured workbooks.
Customizing .joboptions
Technical communicators are the target audience for this content, so this section assumes you have access to Acrobat DC, the most up-to-date version of “full Acrobat” available at time of writing. Acrobat DC includes Acrobat Distiller, used in this example. While other methods for editing .joboptions files may exist, they are not covered here.
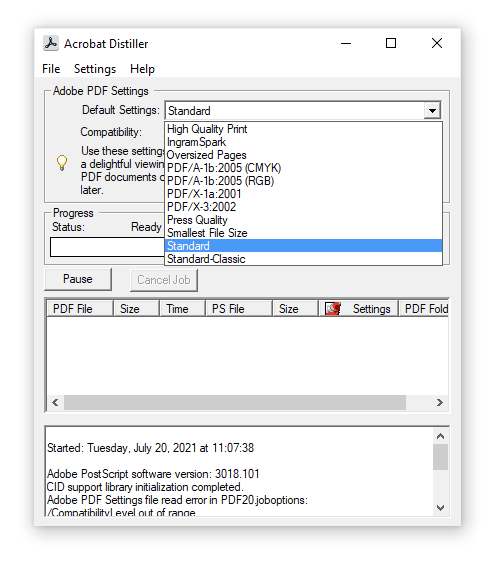
Start by launching Acrobat Distiller, and selecting the .joboptions file you wish to edit. I’ve chosen one of the default settings, Standard.
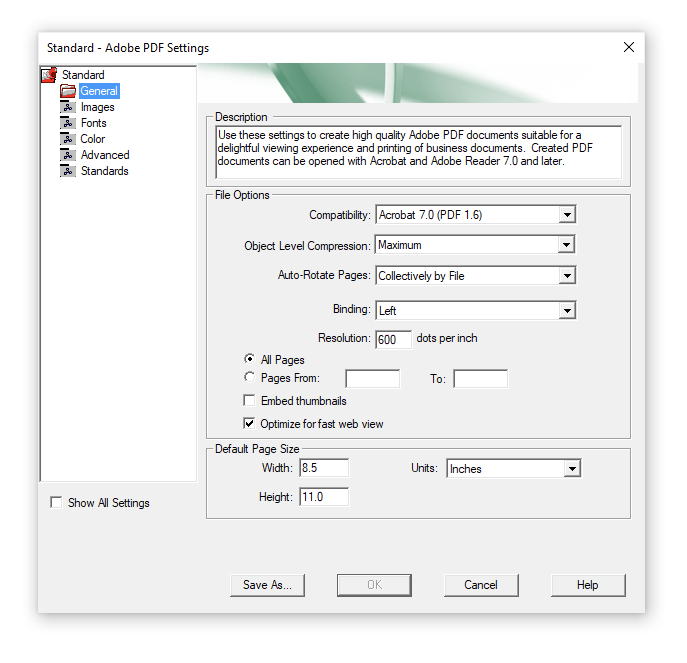
Next, select the Settings>Edit Adobe PDF Settings option. As shown below, there are controls for a number of things like image quality/size, fonts, and colors that you can change to deliver exactly what your end user needs.
Once you’ve crafted the ideal settings file for your purpose, choose the Save As option to create an additional properly labeled options file in your Roaming directory for future use.
In my case, I saved my options file as Standard-July2021webinar, and both Distiller and FrameMaker’s Publish panel have immediate access to my new options file.
PDF Bookmarks and Tags
Starting with FrameMaker 2019, Adobe moved controls for the document-specific bookmarks and tags features to the Format>Document>PDF Setup menu item. This allows your settings for these features to be stored with your FrameMaker file, instead of buried in the STS file you might want to use across more than one type of project.
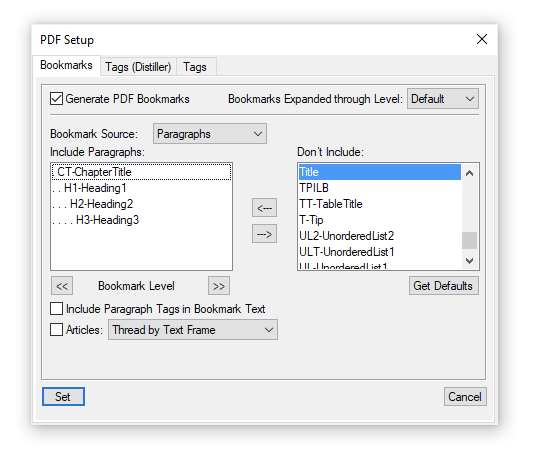
As shown in the image above, you can use the Bookmarks tab to indicate whether bookmarks should be included, specify the headings to be used for bookmarks, and the level to which they should be expanded in the saved PDF file.
Tags (Distiller)
Tags (Distiller) are options for producing tags for accessibility and PDF electronic document review when using the (older) Distiller workflow.
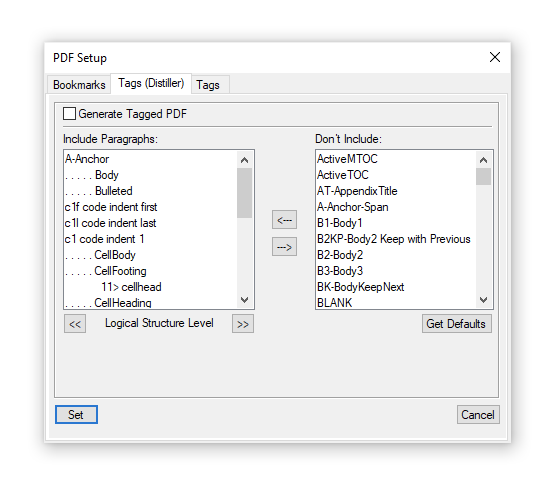
The tags created with Distiller do not map to standard accessibility tags, so they are somewhat less useful for accessibility than those produced with the Publish panel shown below.
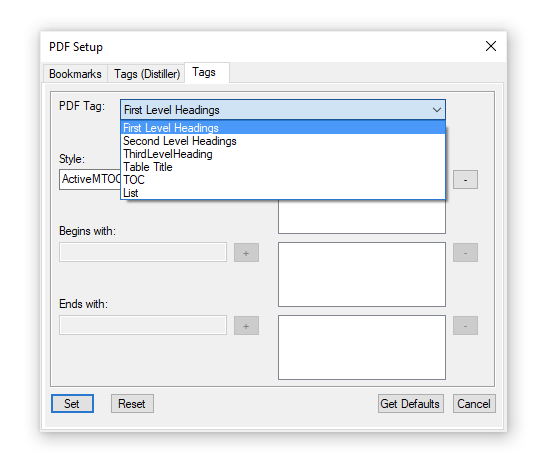
Tags generated with the Publish panel
The Tags options associated with the Publish panel (shown below) allow you to map single or multiple styles to specific tags. If your styles have commonality in the style names, you can use prefix and suffix rules to add batches of tags at one time.
This is not only easier to manage than the Distiller-oriented tags, but more accurate, and will likely cut down on post-processing of your PDF to maximize accessibility concerns.
Automating PDF generation
While the options above show you how to customize output of a specific, individual PDF, you also have options for scheduling the build of one or more PDF files.
Adobe provides two additional services that allow you to configure and schedule the build and deliver of your PDF files.
- Adobe Experience Manager
- FrameMaker Publishing Server
Adobe Experience Manager
Adobe Experience Manager (AEM) is a Component Content Management System (CCMS) that (in addition to its primary role as a CCMS) can allow you to schedule automatic builds of your PDF and other output. If your organization is already using AEM, this option is worth exploring.
FrameMaker Publishing Server
FrameMaker Publishing Server (FMPS) is a stand-alone product that also schedules automatic builds of your PDF and other output. It is targeted specifically at reducing the time required for individuals to initiate processing and manage delivery of output. If your organization needs to manage a dozen or more outputs on a regular basis, FMPS can completely manage any number of outputs and variations, as well as route the output to the appropriate server or the web.
Here is a video with more detail regarding FMPS
Both AEM and FMPS are server-based products.

Join over 4,300 of your peers and get my latest content sent to you for free, along with some of my all-time favorites.