Slash eLearning development time with MAMP
Personally, I get tired of waiting for server-based products like Moodle when I have to save and update content. Along with the physical time required to communicate across networks, it just takes the flow (and thus, most of the joy) out of the work. If you have an hour or so to invest in a better experience, I recommend installing MAMP or another local server technology like WAMP, LAMP, depending on whether you’re on a MAC, Windows, or Linux OS.
If you found this via Google, you probably don’t need an explanation of what MAMP is, or what you use it for.
For the rest of us, Wikipedia is probably the best place to go for a description
(bullets added to improve readability):
MAMP Defined
MAMP is a solution stack composed of free and open-source and proprietary commercial software used together to run dynamic web sites on Apple Macintosh computers. MAMP is an acronym of
- Mac OS X, the operating system
- Apache, the Web server
- MySQL, the database management system
- P for PHP, Perl, or Python, all programming languages used for web development
In english, please…
MAMP lets you run web-based applications on your local computer, without internet access. For me, that means I can develop content on Moodle and WordPress on my local machine. I can also work on “regular” websites on my local machine using Dreamweaver or other tools without fussing with FTP until I’m ready to update.
What MAMP will not let you do
MAMP helps you run products like WordPress that rely heavily on databases and servers. MAMP will not let you write WordPress posts offline and publish to your live site. For this you need a desktop blogging client. I have experimented with a few of these, and find that Windows LiveWriter is about the cleanest one around, and also free. Unfortunately, I prefer to write on my Mac system, so I’m still looking for a Mac desktop client that I like.
Translation: I’m writing this post via the WordPress online editor.
Search the web for free and paid desktop blogging client applications available for your operating system. WordPress has their own set of clients for different OS, but I haven’t gotten their Mac client successfully set up yet.
The reason for writing this up
I’ll be delivering a 1/2 day session at the STC Summit on May 15, 2016, showing how to create Moodle courses. Pre-installing MAMP on attendee machines will allow participants to work in the class at full speed, and without an internet connection.
Many thanks to Aaron Tweeton for his YouTube screencasts (7 short videos, which took me about 1 hour to follow), which I’ve embedded below. They show how to download and install both MAMP and Moodle. The videos are full of detail, and I found that if I changed the settings of the video (using the “gear” icon) to 1.5x normal speed, I could more rapidly listen to the explanations, pausing the video for places where I needed to track down specific details.
***If you’re attending my STC session, please comment below if you need help installing. Without this installation, you’ll be at the mercy of the conference hotel’s internet connection and speed, which, if like most, are not generally amazing.***
The short and sweet version
Go first to the Moodle installation quick guide. This excellent reference is more or less the Holy Grail of the process. (Video 1)
Download MAMP or other local server
MAMP works on both Windows and Mac, but you can use whatever server you’d like.
Install MAMP (Video 2).
Download Moodle (Video 3)
Create Database (Video 4)
Create Data Folder (Video 5)
Install Moodle Code (Video 6)
Install Moodle (Video 7)
You’ll notice a section about running CRON at the end of the Moodle Installation Quick Guide. I believe this is only necessary for a live install, and not for a local dev install of Moodle. In any case, I’ve not completed this step, but if you are running a live, accessible version of Moodle, then I recommend following these steps regarding CRON.
Installing MAMP for Windows
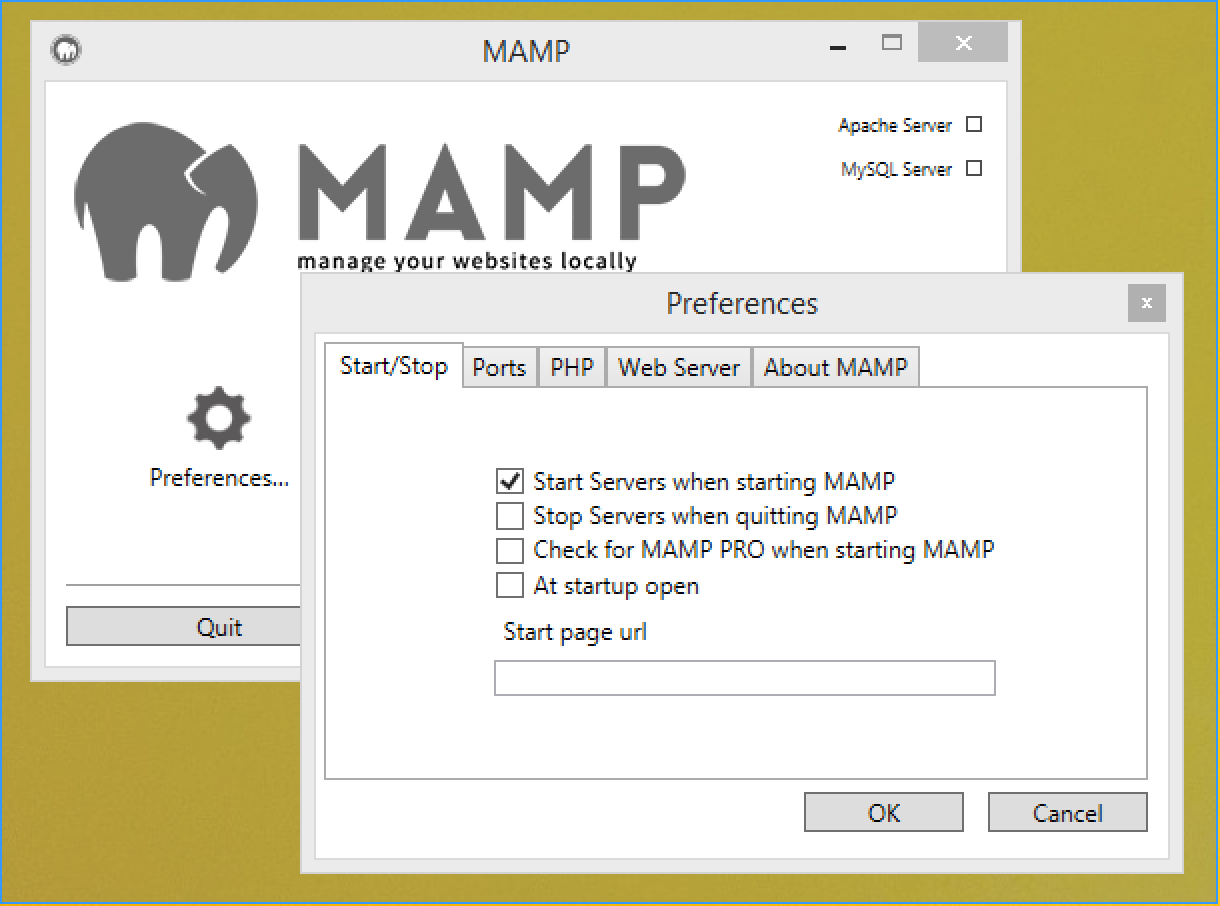
I’ve also used the videos above to install MAMP on a Windows virtual machine. It was a little trickier, and in particular, I couldn’t get the Moodle installer to run until I cleared out the Start page url in the MAMP preferences.
Additionally, I had to ensure that both the Moodle database and user were successfully created per the SQL statements in the Moodle Quick Start Guide.
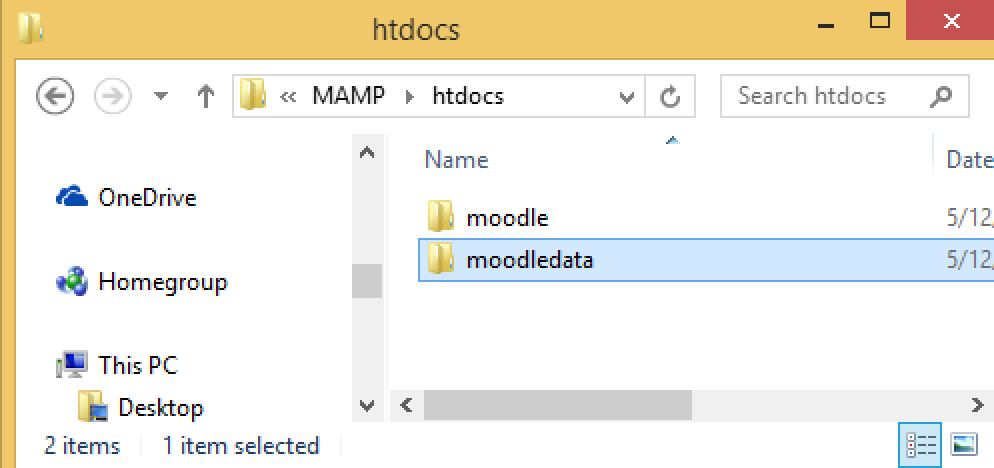
Finally, I needed to have the moodledata directory in place before the installer would run successfully. These seem to have gone much smoother when installing on my Mac OS, but then that’s generally the case, eh?
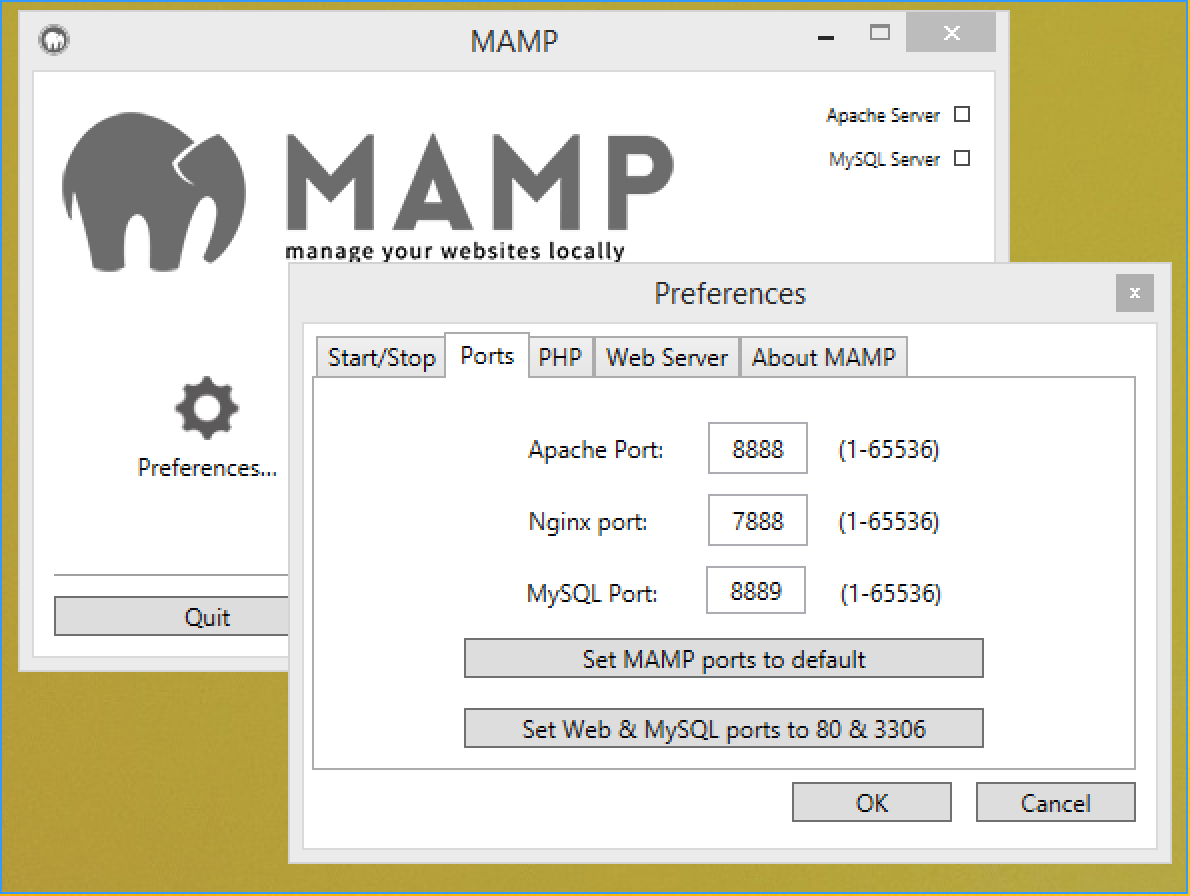
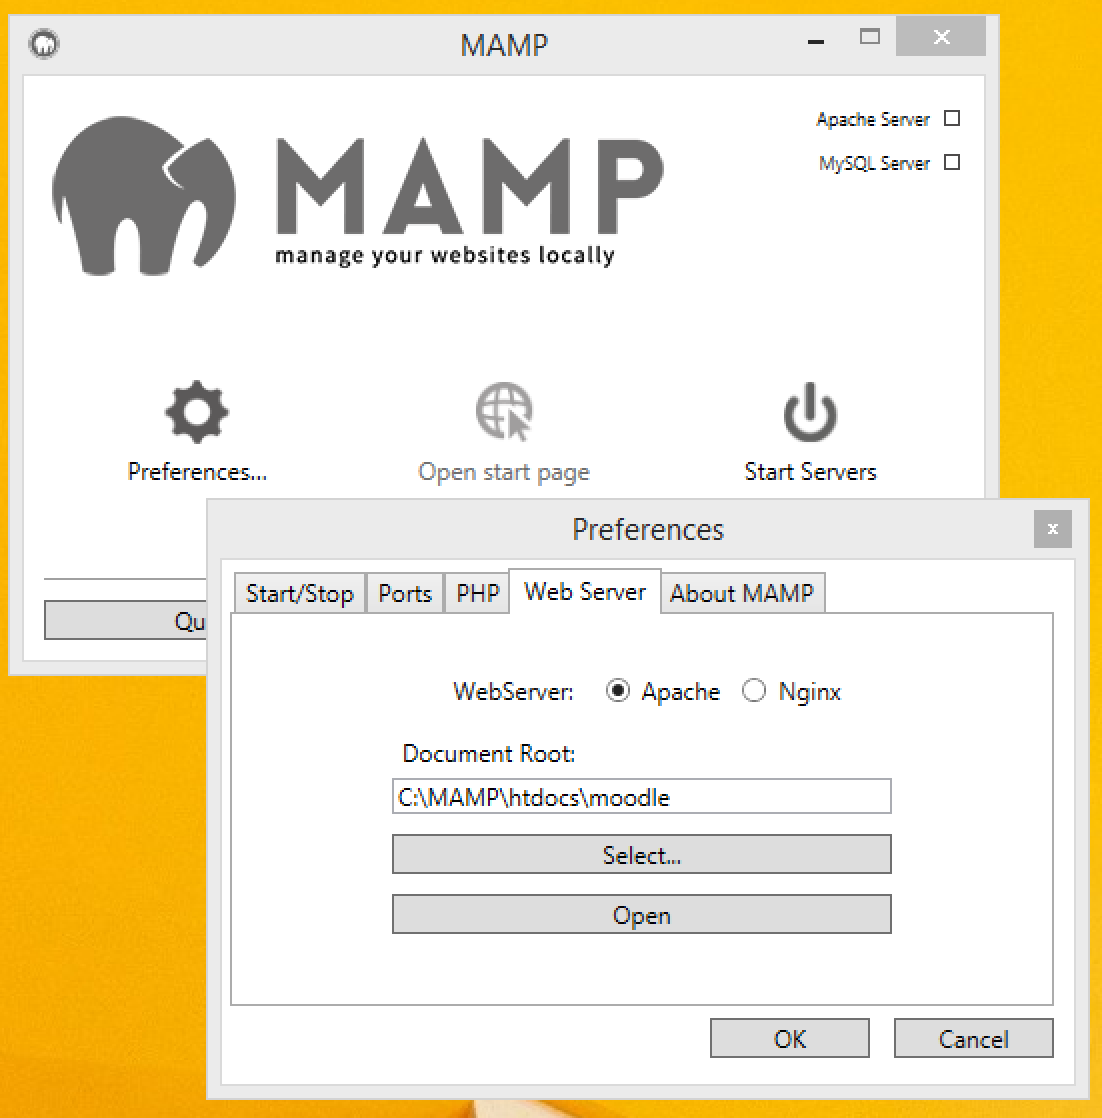
For reference I’m including the Ports and Web Server settings used for the Preferences tabs that I modified, in case they’re of use to you.
I chose to set the MAMP ports to default, rather than to 80 and 3306. I don’t know that this made a difference, but if you are having trouble, it’s worth a button click to see if this is an issue for you.
Changing the Web Server: Document Root allowed Moodle to launch when selecting the Open start page option. Without this change, you may need to manually type in the address of the local moodle installation.

Join over 4,300 of your peers and get my latest content sent to you for free, along with some of my all-time favorites.
Question simple (et peut-être stupide…). Une fois créé des contenus à l’aide des outils en local comme très bien décrits plus haut, pourrais-je importer ces contenus sur un compte moodle institutionnel (celui de mon université) et les mettre en accès à mes étudiants ?
Merci.