
Using Font Awesome for custom bullet images
Slight edits to original on April 29, 2026
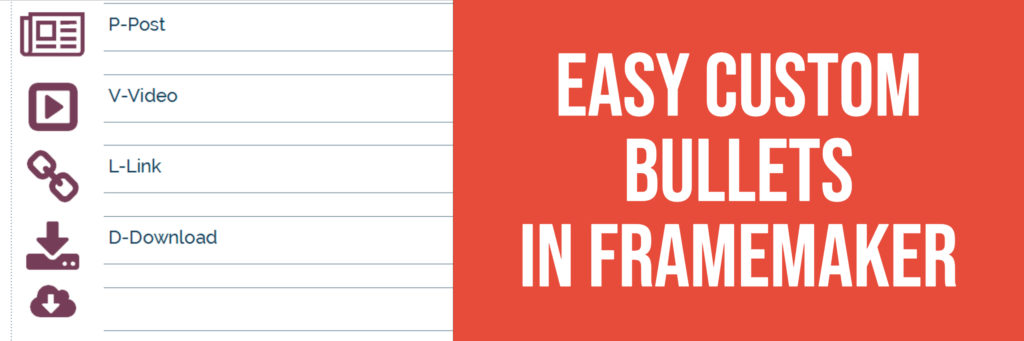
I’ve used the icons available in the free Font Awesome font to create cool custom bullet icons for a couple of years now. It’s easy to download, and even the free version of version 7.2 has 2,140 high-quality icons to choose from.
Setting up FontAwesome
There are a number of ways to use this great resource, but you can download the desktop version of FontAwesome (referred to as FA for the remainder of this post) by visiting their download site.
https://fontawesome.com/how-to-use/on-the-desktop/setup/getting-started
Of course, once downloaded, you’ll need to install the font for use in your operating system. After installation, FA fonts will appear in the font menus for your applications.
Prepping a FrameMaker paragraph for an FA autonumber
The first thing you need to use
Specifying the autonumber
Within the Autonumber properties in the Paragraph Designer, specify the character style you defined above so that the FA font is used for formatting the
Paste the character into the Autonumber field in the Paragraph Designer. The character will display as a bullet in the
Where to go from here…
If you’d like to move beyond just putting in cool bullet characters, my Template Design workshop also shows you how to use MIF (Maker Interchange Format) to drop down the icon so that it helps to further set off a caution statement. That workshop also

Join over 9,300 of your peers and get my latest content sent to you for free, along with some of my all-time favorites.