Labeling Warnings and Cautions in FrameMaker 2019 HTML5 Output
While I love the formatting of my warnings, notes, and cautions in my FrameMaker projects, I don’t love what I currently have to go through to get formatted labeling in the HTML5 output for those projects.
This post goes into CSS and HTML5 template topics, so if you don’t like going “under the hood” you might want to stop after Option 1 and call it a day.
Option 1: Convert Autonumbering from FrameMaker
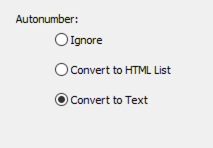
In Style Mapping, you have the option to convert autonumber to text, so if you’re ok with “just” the autonumber you used in the Paragraph Designer, then you’re all set. If, however, you’d like to do some cooler things, then you’ll need to make changes to the CSS that you can’t currently do within the Publish options in Fm.
Option 2: Use a custom CSS template
In the Responsive HTML5 Output tab, within the Publish panel, you’ll find the options for Override Styles for this Output.
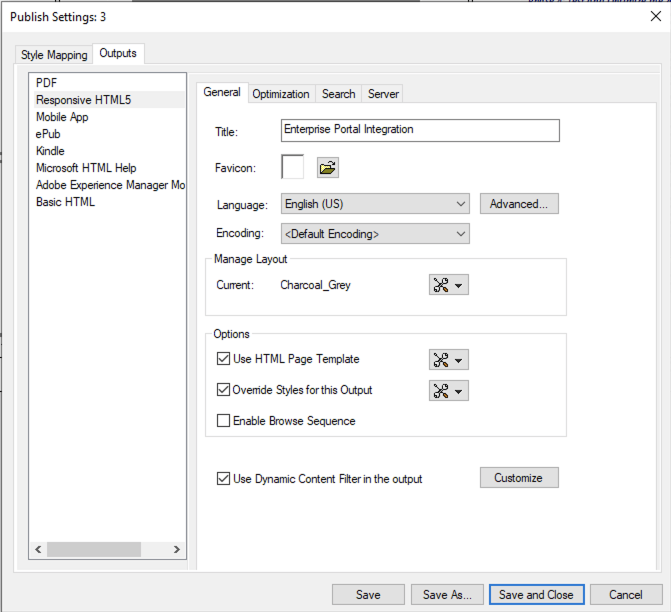
It’s important to note that you may have CSS in your override template that also exists in your internal Publish settings. I have found that removing specific settings from the Publish panel makes it easier to manually edit the override CSS, providing you are comfortable working in CSS.
NOTE: Changes to your override CSS are not automatically incorporated into FrameMaker’s publish process. Currently in Fm 2019 you need to reimport the CSS after changing and saving the external CSS file. The same is true for the page template option.
Things I place in the override CSS
- @font-face calls for things like Google fonts
- definitions for <body> and other elements and classes not easily edited in FrameMaker
- ::before and ::after statements (which is what this post is about)
Using ::before to add a prefix
Using the Publish panel, a FrameMaker Body paragraph might be mapped to BodyLevel1 in the Style Mapping section.
Similarly, a Caution paragraph might be mapped to a style named caution, defined as a custom element p.caution in the CSS.
If Caution is mapped to caution within the Publish panel, the resulting HTML would show the paragraph is defined as a <p class=”caution”> and the CSS controlling the content would be p.caution.
All good so far, but within the Publish panel options, I’ve not found a way to specify content (either image or text) to be displayed as a prefix.
That’s OK, because CSS has the ::before property, allowing something like
p.caution {
  color: "Red";
}
.caution::before {
  content: "CAUTION: ";
  font-weight: "bold";
}
Just for clarity, this would give you the CAUTION prefix, along with a paragraph displayed entirely in red.
If the color statement were moved to the .caution::before area, then only the prefix would be red.
Next steps
While this works quite well by selecting the Override Styles for this Output option, I’d also like to place a Font Awesome icon in the prefix as well.
At time of publishing, I’ve been able to manually post-process the HTML to display these icons, but I’ve not been able to craft the proper HTML header or CSS to call them automatically into the publishing process.
Rest assured, I’ll be staying on this, and will update this post when I come up with one. (or when one of you shares a solution with me 😉 )
Also, Use HTML Page Template allows you to add breadcrumbs to the top of your page. Adobe’s writeup of the process can be found at https://help.adobe.com/en_US/framemaker/2017/using/using-framemaker-2017/frm_generating_output/HTML_page_templates-.htm
If you’re having trouble getting the breadcrumbs to work, please comment below and I’ll publish a different post on that topic. Offhand, I ran across a supplied template, but can’t remember where it was located.

Join over 4,300 of your peers and get my latest content sent to you for free, along with some of my all-time favorites.